This is the second part of a three part series on installing and configuring Tensorflow on Windows 10 with GPU.
If you have not done so, take a look at part 1 and double check that you have the required components. Part 1
Install NVIDIA CUDA Toolkit
Now you are ready to install the CUDA toolkit. Go to the NVIDIA website and download the CUDA toolkit.
Select the your OS and download the toolkit.
Next, navigate to the download location and double click on the .exe file. You should see the installer window leave the default Temp folder, this will be deleted when the installer is done.

Click Ok. And you should see the progress bar window.

When the CUDA setup is complete, you will get the installer wizard. Read the EULA and click on Agree and Continue.

Next, we select the express installation option. Express and Click Next.

Remember in Part 1 that we needed to install Visual Studio 2019? If you missed that step, here’s the error message that you will see.

The next window “Preparing for Installation”.

NSight installation summary.

Installation is complete….
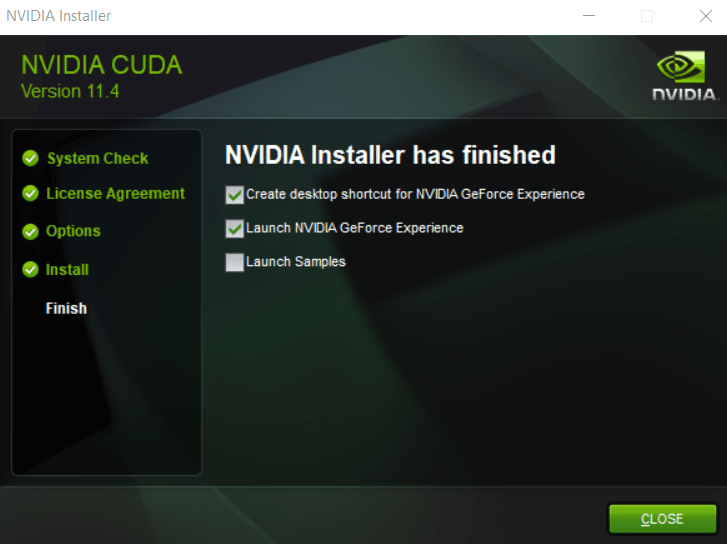
I chose not to run the examples, but if you have time I recommend running a couple. On our next post, we will install cuDNN.
